Colors can make any photo feel vibrant and emotional
But sometimes a wrong color can ruin the final look of the image.
Maybe it’s a bright shirt in the background, an unwanted color tone, or a distracting object that doesn’t fit the scene.
Traditionally, fixing this required advanced editing skills and time-consuming manual work.
Now, AI makes the process much easier.
With the Pincel AI photo editor, you can quickly remove a specific color from a photo, replace it, or neutralize.
Let’s see how it works.
Photoshop Has 12 Steps for This… Pincel Has 1 🎯
First comes Select Color Range. Then the mask. Then feathering, because the edges look terrible.
Then you realize the color you removed was bouncing light onto everything around it.
That’s the problem Pincel solves instantly.
Upload your photo, describe what you want removed, and get a clean result in seconds.
No selections and no rabbit holes.
How to Remove or Replace a Color ✅
🖼️ Step 1: Upload Your Photo
Go to the Pincel AI Photo Editor.
Click “Upload Image” and choose the photo you want to edit.
If the color you want to remove is clearly visible, you’re already in great shape.
📝 Step 2: Tell the AI Which Color to Remove (and what to do instead)
In the prompt box, describe the color and the target result.
Try prompts like these (steal them and tweak):
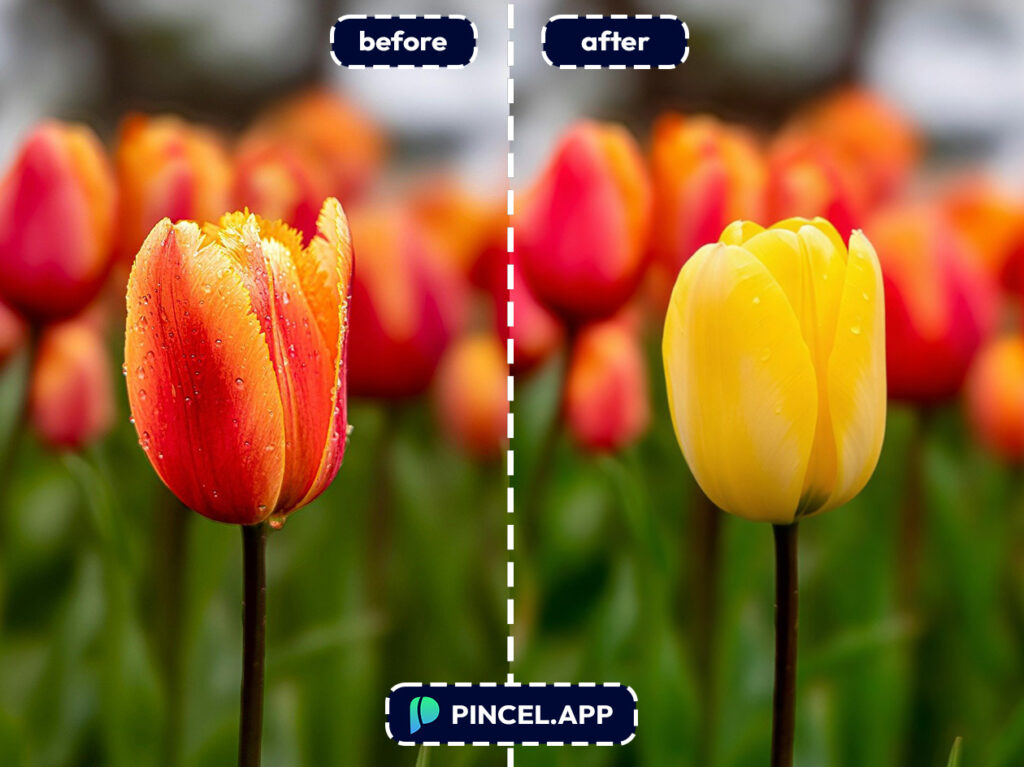
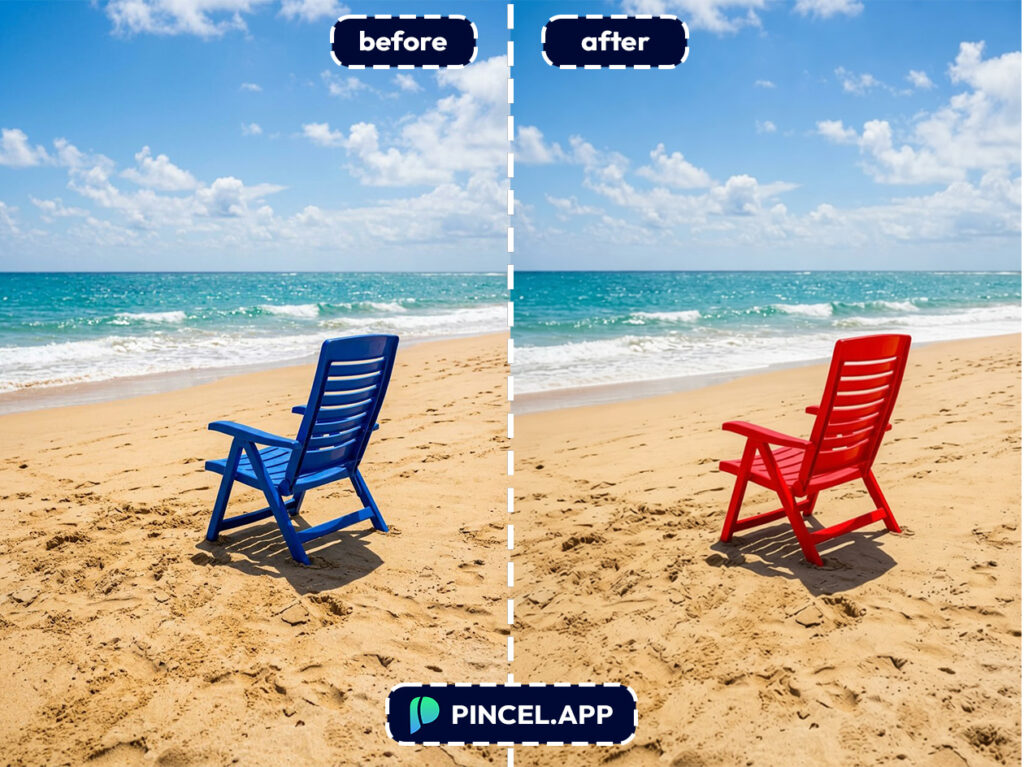
- “Remove the red color from the entire image and replace it with neutral gray tones, keep everything else the same”
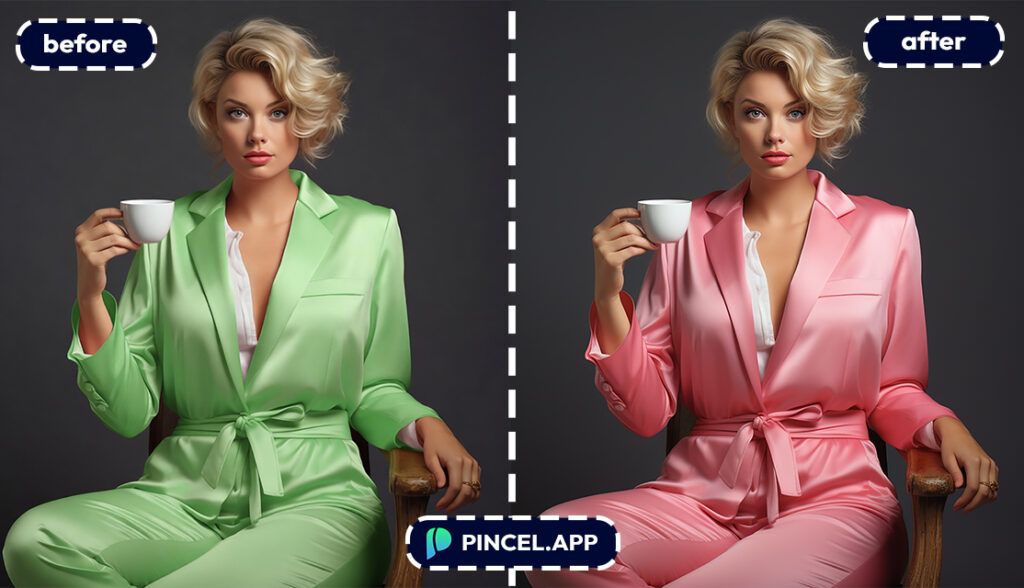
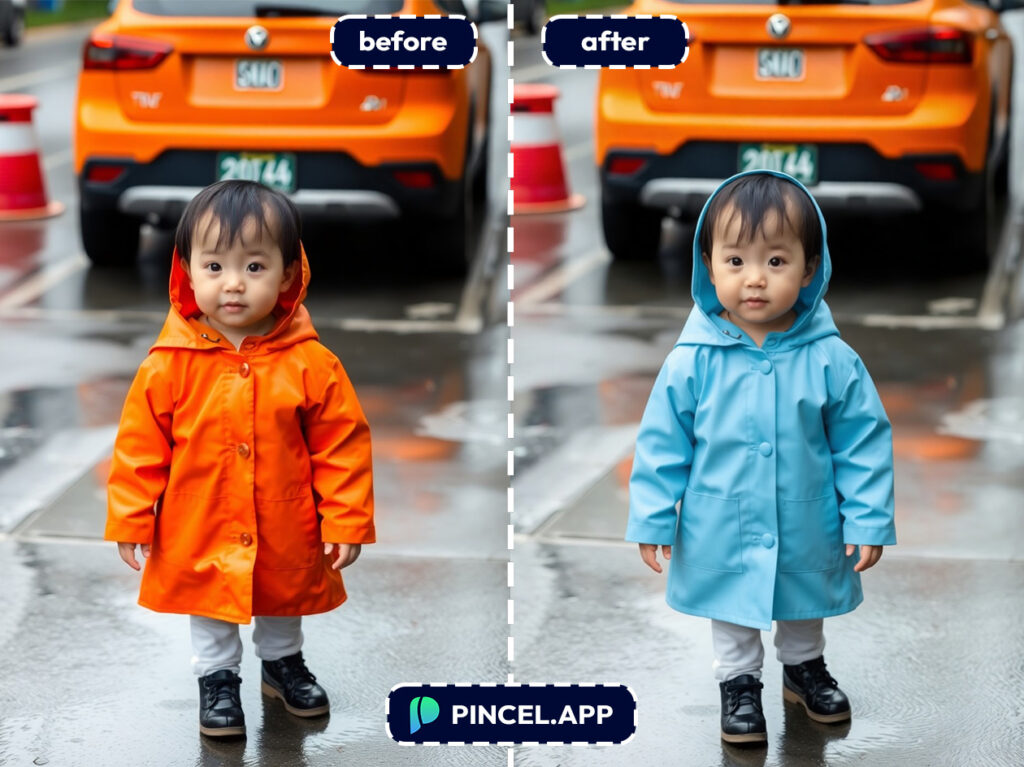
- “Change the bright green shirt to black, keep the fabric texture and lighting realistic”
- “Remove the yellow tint from the background wall and make it pure white”
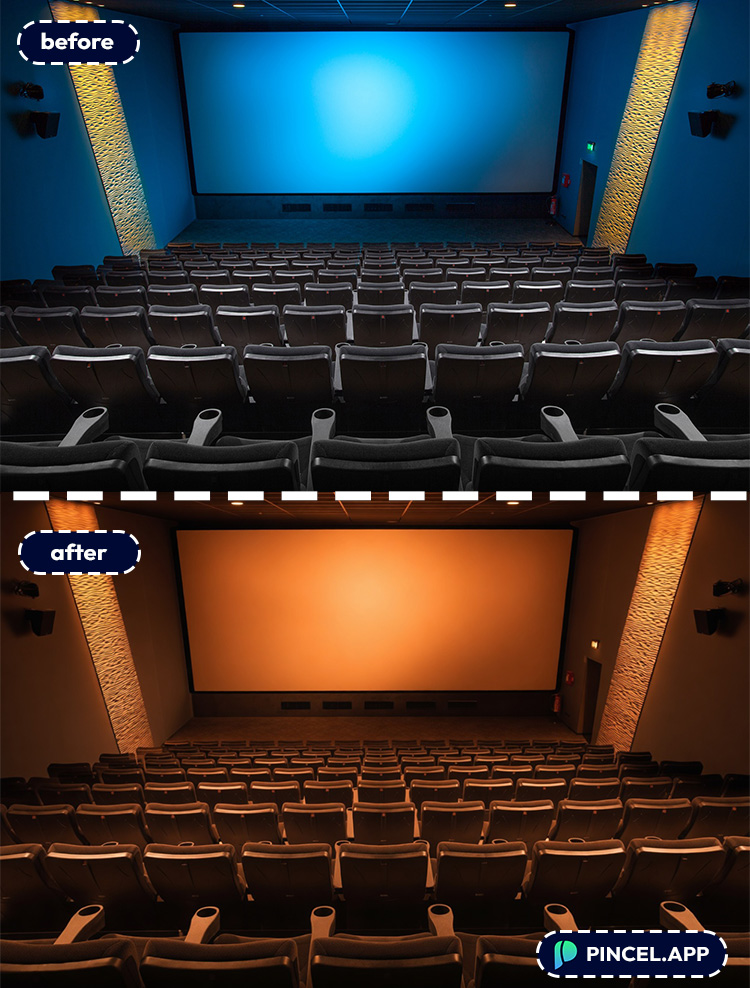
- “Remove the blue cast from the shadows and make the lighting look natural”
If you mean a specific object, then simply name it.
If you mean the whole photo’s color cast, say that too.
⚡ Step 3: Click Generate
Hit Generate and wait a few seconds.
Most edits land in under 10 seconds, including the tricky stuff like keeping shadows consistent.
If the AI changes more than you wanted, narrow it down.
For example: “only change the shirt” or “only affect the background.”
📥 Step 4: Refine (Optional) and Download
If you want a second pass, adjust your prompt and generate again.
Small wording changes can make a big difference, like “slightly desaturate” vs “remove completely.”
Then download your edited image and use it anywhere.
Ready to try it on your photo?
Who Is This For? Real-World Use Cases 👇🏼
E-commerce & product photography — Remove a color cast, kill distracting packaging colors, or standardize backgrounds across a catalog.
This pairs perfectly with AI product photography when you’re trying to keep listings consistent.
Brand & marketing teams — Need a campaign image that matches your palette without reshooting?
You can recolor or remove a specific color in seconds and keep the vibe on-brand.
Creators and social posts — Sometimes one loud color hijacks the whole frame.
Remove it, mute it, or swap it so your subject pops (without looking filtered).
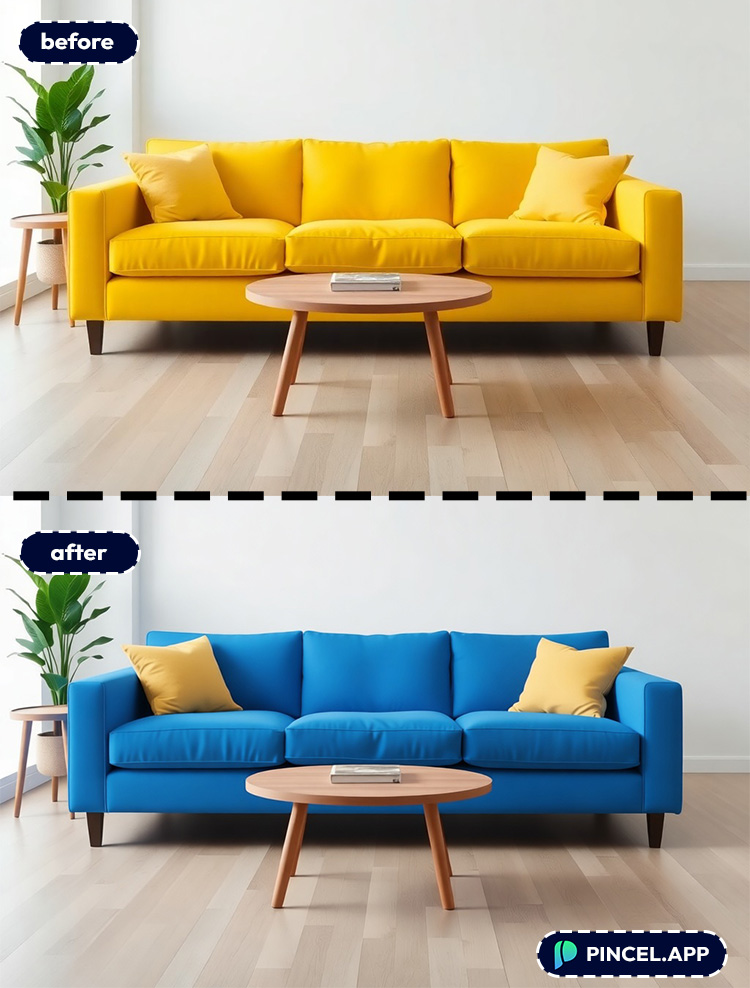
Real estate and interiors — Fix ugly yellow lighting, remove weird green casts, or neutralize a wall color for cleaner listing photos.
If you also need a wider composition, combine it with extend photo with AI.
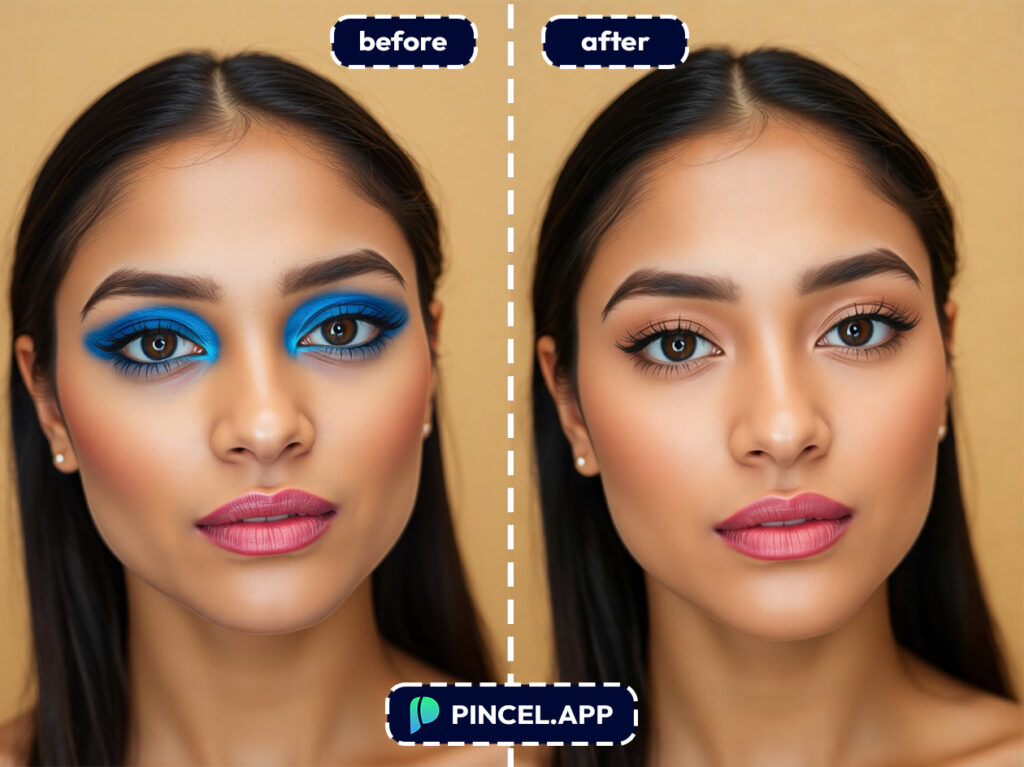
Portrait touch-ups — Remove weird background color spill from hair and skin, or tone down a too-bright clothing color.
And if lighting is the real problem, check relight photos with AI.
Event photos — Colorful LED lights can turn everyone purple, red, or green.
You can reduce that specific tint without flattening the entire image.
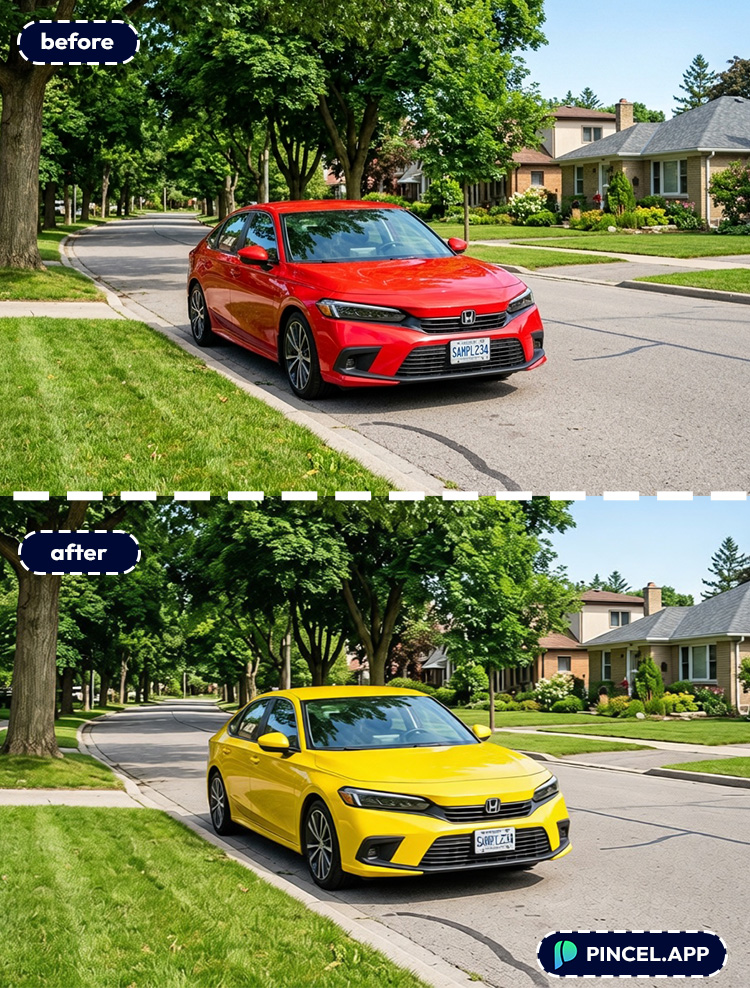
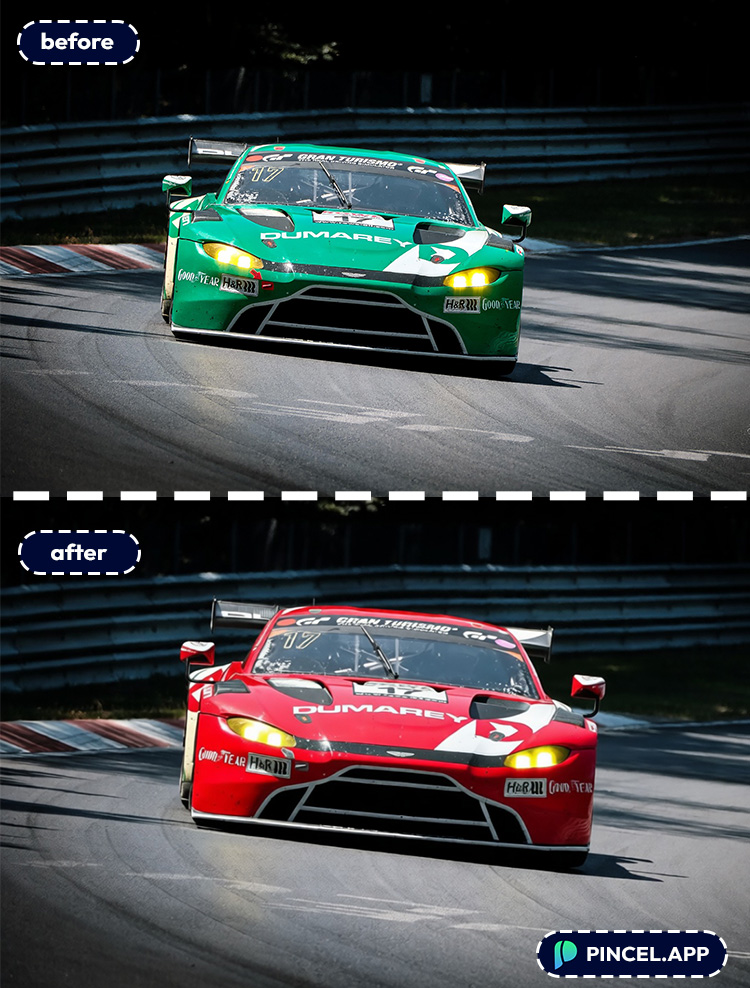
Car and gear photos — Want to remove a distracting color reflection, or make the subject color consistent across shots?
You can also go further and fully change car color when you want a total repaint.
Design mockups and quick composites — Remove a specific color before you combine photos with AI so everything blends cleaner.
Fun edits — Remove that one color that ruins the aesthetic, then go wild with styles. If you’re feeling playful, turning yourself into an AI Memoji after cleanup is a surprisingly good time.
Frequently Asked Questions 🤔
How do I remove a specific color from a photo using AI?
You remove a specific color from a photo using AI by uploading the image and describing the color and the desired replacement in a text prompt.
With Pincel AI Photo Editor, you can do it in a few seconds and regenerate until it looks right.
The key is being specific about whether the change should affect the whole image or just one object.
See How it Works in Less Than 30 Seconds 👇🏼
Can I remove a specific color from a photo without Photoshop?
Yes, you can remove a specific color from a photo without Photoshop by using a browser-based AI editor.
Pincel handles the selection, blending, and lighting match automatically, so you don’t need masks or Color Range tools.
If you’re coming from Photoshop, this feels like skipping 15 steps.
Will removing a color affect skin tones or other objects?
It can if your prompt is too broad, but you can easily constrain it.
Say “only change the shirt” or “only affect the background wall,” and the AI will keep everything else consistent.
If you notice spill (like colored light on skin), ask to “remove color spill on face and hands” for a cleaner result.
What’s the best prompt to remove a color cast (like yellow indoor lighting)?
The best prompt names the cast and the target lighting.
Try: “Remove the yellow color cast and make the photo neutral daylight, keep natural skin tones”.
If you want more control, you can also do lighting-first edits using relight photos with AI.
Is it free to remove a specific color from a photo using AI?
Yes. Pincel AI Photo Editor gives new users 20 free credits with no credit card required.
That’s enough to test multiple variations and find the cleanest result before upgrading.
Hue Knew? 🎨
You noticed something was off and want to do the fix.
And now you know it takes about 10 seconds, not an afternoon.
No Photoshop certification required.
No staring at a screen wondering where it all went wrong.
Just a photo, a prompt, and an AI that actually listens.
The color that was bothering you? Gone.
The photo you almost gave up on? Saved.
Give it a shot with Pincel AI Photo Editor.